Episode 4- Nothin' But A Good Old-Fashioned Camera Rig
Last week, I vented a big ‘ole bunch about how complex and difficult to understand the CHOP Networks are. So this week, I decided to reward myself and skip ahead to a section that’s a little easier to wrap my brain around. (And doesn’t make me want to give up learning this frustratingly complex program. So I did, please feel free to judge me. I digress.)
CAMERAS.
Let’s chat about cameras.
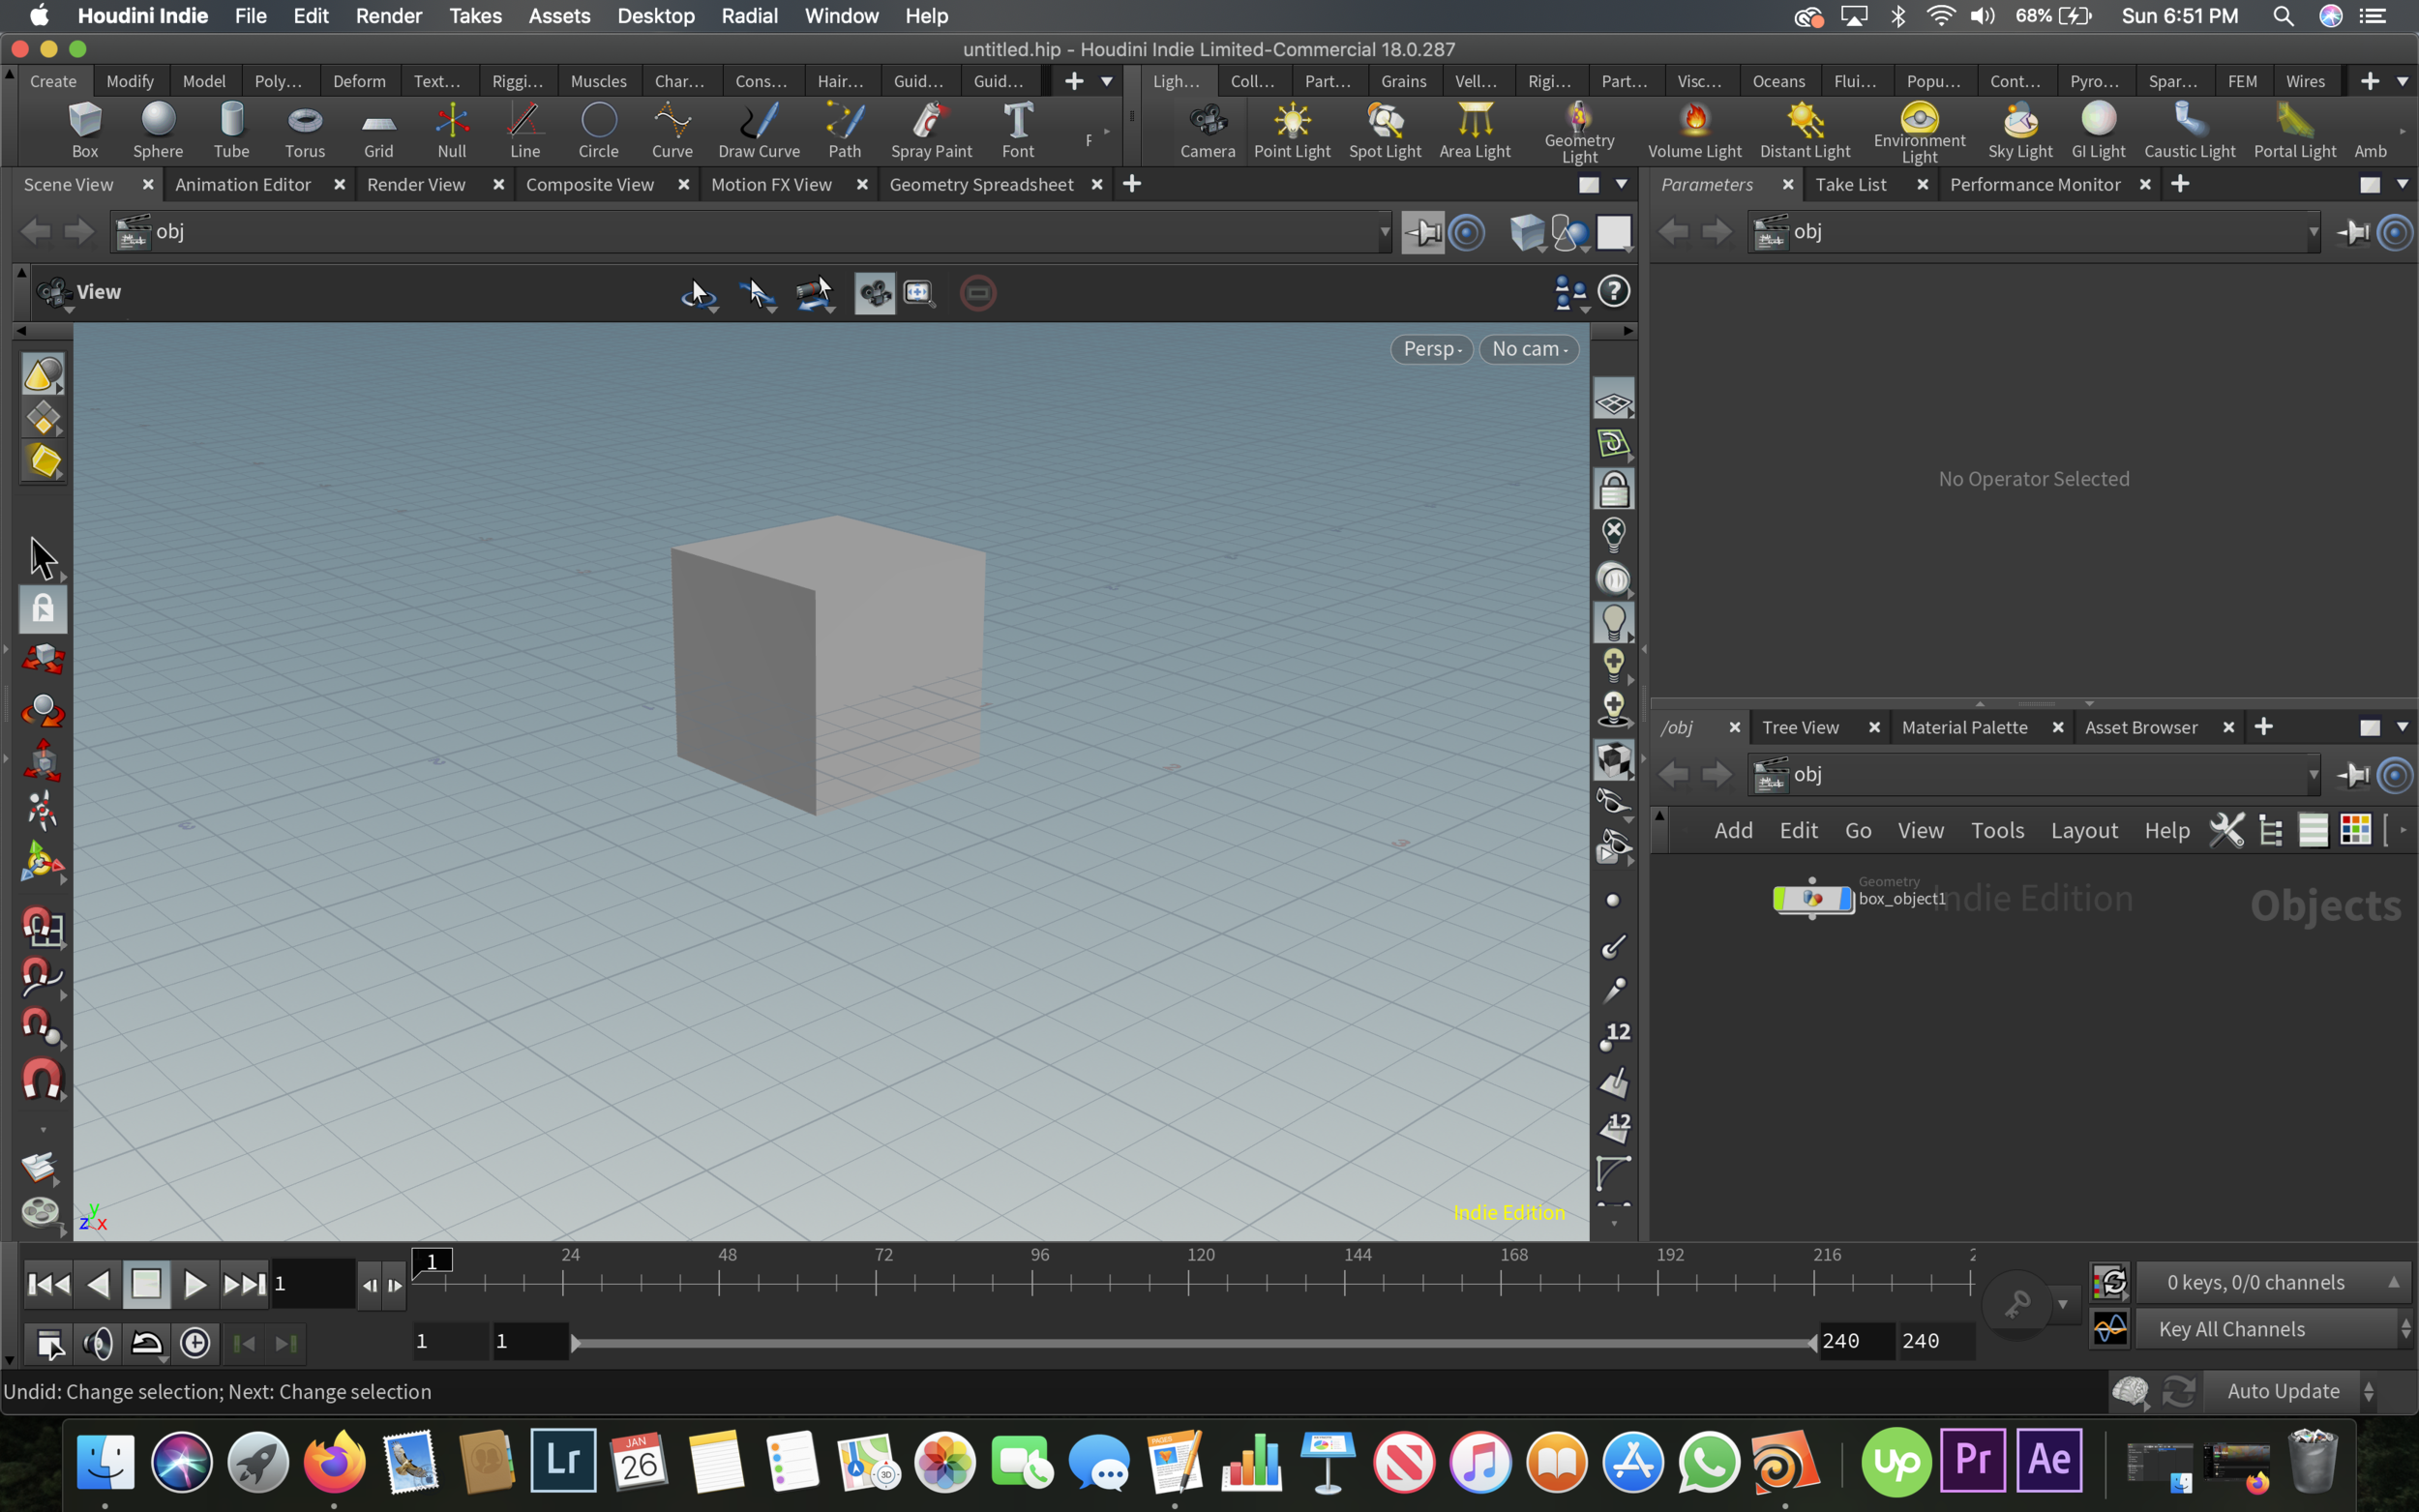
So in Houdini there’s a bunch of options for cameras and what characteristics they’ll have depending on what individual needs you may have. So check this out- Here’s how you’d setup a super basic camera-
Step 1. Navigate to the Node Tree, right click anywhere in that badboy, then type the word camera. Select that first option, and you’re off to the races!

OR
Step 1. Navigate up to the top menu tab of “Lights and Cameras” and select the button that, strangely enough, looks just like a camera. (If you get confused, it’s also labeled “Camera”) Then, click in the viewport where you wanna stick that little guy and BAM you’ve got yourself a camera.
OR
Step 1. Click on the little button inside the viewport that says “No cam”. This will give you a little drop down menu. Somewhere in there you’ll see the option “New Camera”. I think you can probably guess what this does.

So there’s a bunch of ways you can do the simple action of creating a camera. Cool.
Step 2. Mess around with some options until you have the necessary frame size, frame rate, motion blur and other general camera settings. It’s pretty cool, it’s like having a normal camera, but you can design the exact specifications that you want, and make it do anything you want. No steadycams needed. You can then fly this badboy around the scene and make it do whatever camera moves you’d like! (As long as you’re willing to keyframe them in of course.)
Something else that’s really cool and worth noting is that you aren’t just limited to one single camera. You can make as many of those little bastards as your heart desires, program in camera moves, then select which ones you’d like to look through (or render out) at any given moment.
Why this is cool: This is cool because you can setup a scene, then once you finish animating everything you can render several views of the scene back to back without having to re-animate the camera moves and lose that data every time you need to change that camera angle.
High five team, good work this week.
- Jakester, out